How To Take Your STI Test
Your test is made to be quick and easy to use, with no technical jargon, making it extremely convenient.
Once you send your sample to us, our partner laboratory will do all the work. Results will be clear and easy to understand and sent directly to you via phone or email as chosen by you.
Once you have received your test kit, all you need to do is follow the instructions to take your sample.
Instructions are clear and easy to follow, presented in a step by step guide.
Most STIs have an incubation period following a sexual encounter. We therefore advise you to wait at least 14 days before taking the test unless you are displaying symptoms such as blisters, lesions or discharge.
About The Test
Urine:
This sample type is advised for most cases.
You are advised to take a urine sample if you are experiencing symptoms such as: pain during urination or sexual intercourse, unusual discharge from the penis/vagina, or if you are experiencing no symptoms at all.
Swab:
If you have any visible blisters or sores on the genital area, a swab sample of the fluid within the suspicious sore is advised.
You will only need to take one type of sample – urine or swab. However if a lesion or a blister swab is taken, also provide a urine sample.

Collecting Your Sample
Urine Sample:
- You should collect your sample first thing in the morning when it is most concentrated.
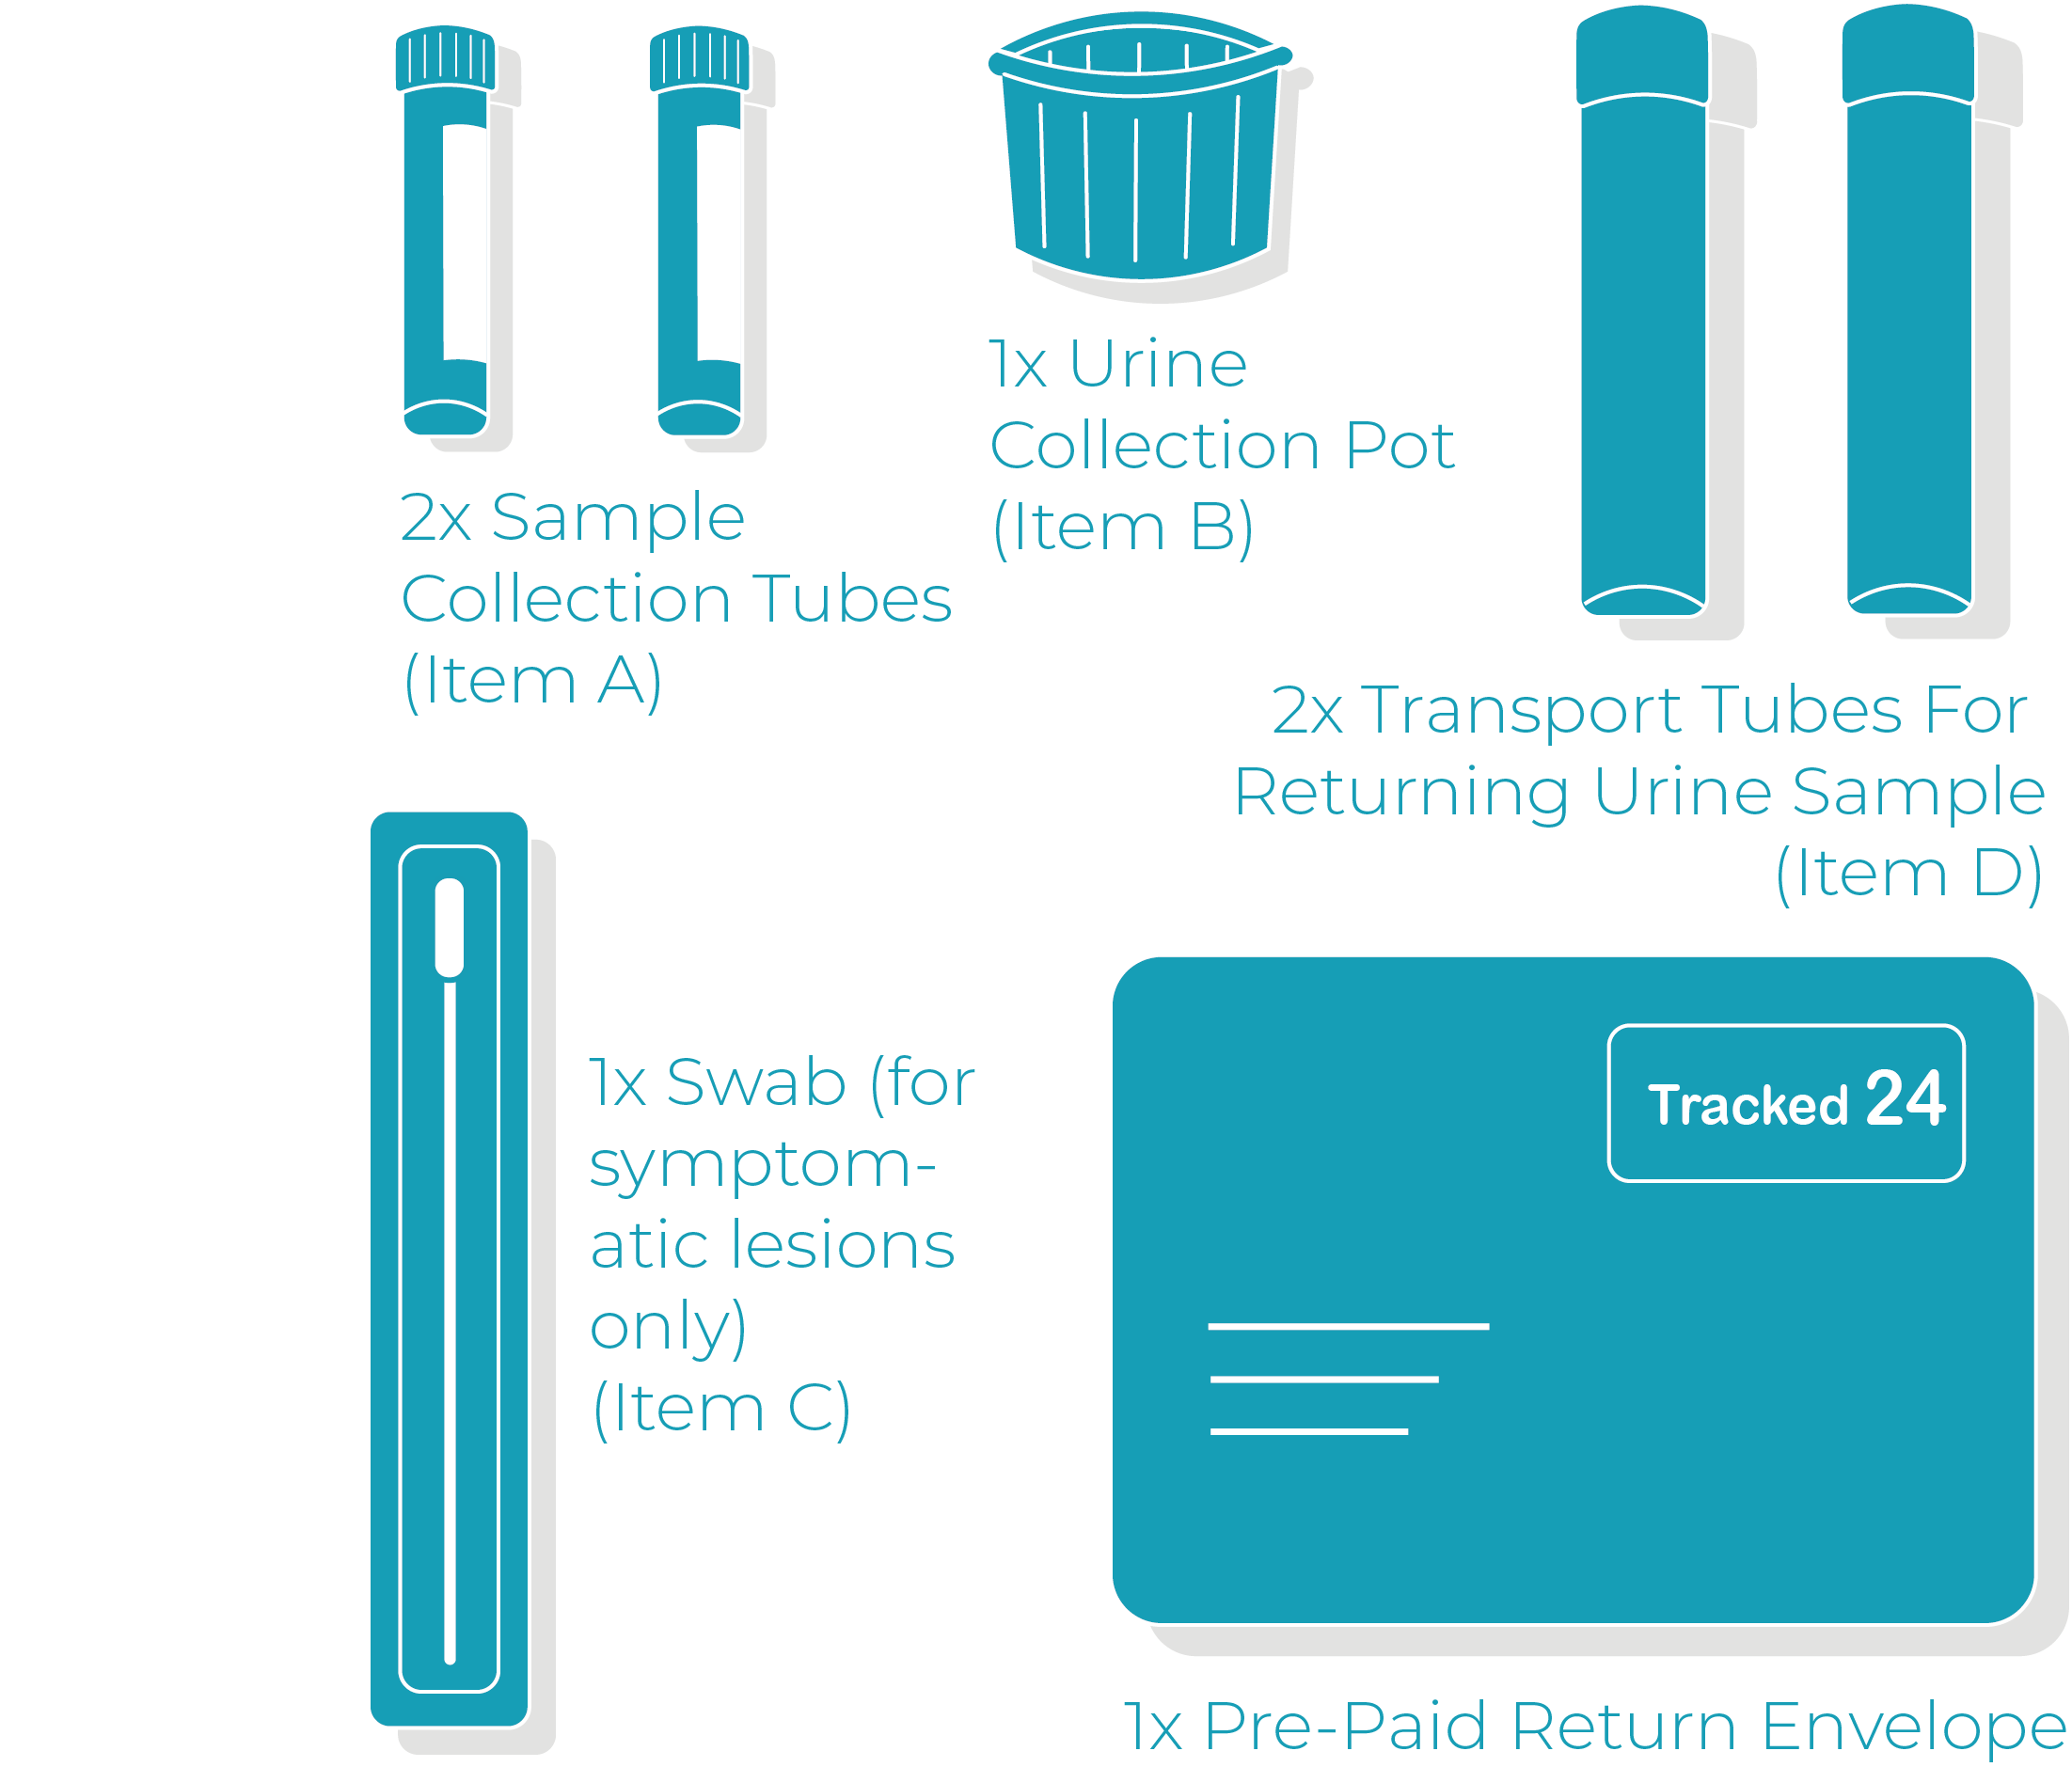
- Remove the Urine Collection cup (Item B). Urinate into the cup until it is half full.
- Pour the sample into the Sample Tube (Item A). Fill to approx. 2cm from the top of the tube.
- Tightly screw on the cap to avoid any spillage
- Thoroughly wash and dry your hands
Swab Sample:
- Remove the Swab (Item C) & tear open the sterile packaging.
- Rub the tip of the swab against the blisters or sores for 5 seconds ensuring you get some liquid onto the swab.
- Insert the swab into the Sample Tube submerging the tip into the solution. The handle of the swab has a break point mid-way down. Holding the tube, gently snap off the protruding part of the handle.
- Tightly screw the cap to avoid any leakage during transport
- Thoroughly wash and dry your hands
Returning Your Sample
Once you have taken either your urine or swab sample, all that’s left to do is return your test to our partner laboratory for testing.
- At the top of the Test Order Form there are two removable adhesive labels. Affix one of these labels to your sample tube. Leave the other in place on the Test Order Form.
- Remove push-fit cap from the Transport Tube (Item D). Place your full Sample Tube into the Transport Tube. Do not remove the absorbent material from the tube.
- Replace the push-fit cap of the Transport Tube; place the Transport Tube into the small plastic bag and seal.
- Complete the Test Order Form with your details, ensuring you write clearly in block capitals.
- Choose the method you would like to receive your results: Email or Phone.
- (Optional Step) Take a photo of your Unique Reference Number (URN) with your smartphone.
- Tear off and keep the verification slip as it is your record of your Unique Reference Number (URN) and will be required for you to receive your results.
- Once the Test Order Form is completed, place it inside the postage-paid return envelope, along with the plastic sealable bag containing the Transport Tube.
- Seal the envelope and post it in a normal letter box as soon as possible. The sample should be posted on the same day that you produce it.
Receiving Your Results
When you have taken your sample and returned to us using the postage-paid return envelope, our partner laboratory will then analyse your sample, testing for 10 different STIs.
Testing for 10 STIs from a single sample allows us to provide you with a comprehensive profile of your sexual health, giving you more information to take the required action. You will also receive a guide with your kit to show you how it works.
We ensure confidentiality and security at every step of the process and particularly when communicating your test results. We will never share your information or results with any other party. Your GP will not be informed that you have taken the test and your results will not appear on your medical records.
Before returning your test to us, you will have completed the Test Order Form. This form includes a tear-off verification slip which you must keep as it details your Unique Reference Number (URN).
Your URN is needed for you to access your results. Users who do not have their URN when retrieving results will not be granted access.
You should receive your results 7 working days after posting your sample. If you have not received your results within this time, please contact our customer services team.
Results will be supplied by the delivery method you have selected on the Test Order Form – telephone, email.
Please note that for telephone results, the Clinical team will not leave a voicemail detailing your results. We will telephone to inform you that your results are ready, and can arrange a suitable time for a follow-up call. If you have any other question on how it works, contact our team today.
